

The title of this post is a mouthful. I understand that.
Fortunately, the steps are pretty straightforward.
When working with transitioning organizations to Azure AD, it’s important to give the consumers of said systems the best possible experiences from a sign-on perspective. That means, in many cases, passing through credentials where possible instead of continuously prompting.
As my dad would have quipped, “The best thing about single sign-on is so many single things to sign-on to.”
I digress.
Deploy Windows Accounts Chrome Extension
In order to fully enable later versions of Chrome to work with Azure AD from the perspective of passing Integrated Windows Authentication (IWA) to Azure AD, Microsoft recommends deploying the Windows Accounts Chrome extension (https://chrome.google.com/webstore/detail/windows-accounts/ppnbnpeolgkicgegkbkbjmhlideopiji).
Manual deployment
From a testing perspective, the browser extension can be installed manually from the Chrome Web Store. To install the extension, navigate to the Chrome store link for the package using the Chrome browser (https://chrome.google.com/webstore/detail/windows-accounts/ppnbnpeolgkicgegkbkbjmhlideopiji).
Group Policy deployment
For policy-based deployment, you will need to use the Chrome Group Policy Administrative Templates.
- On a server or workstation with the Active Directory Remote Server Administration Tools, download the Google Chrome Bundle (https://enterprise.google.com/chrome/chrome-browser/#download). Select the Stable channel, Bundle file type, and an architecture/platform (it doesn’t matter, since you’ll only be using the GPO templates and not the Chrome installer itself).
- Click Download.
- Extract the downloaded file to a temporary folder.
- Browse to the location where the Google Chrome Bundle was extracted and then navigate to the subfolder Configuration\admx. Copy the file Configuration\admx\chrome.admx to C:\Windows\PolicyDefinitions on the domain controller. Copy the file Configuration\admx\en-US\chrome.adml to C:\Windows\PolicyDefinitions\en-US.
- Launch the Group Policy Management Console and select a group policy to modify (or create and link a new one).
- Navigate to User Configuration > Administrative Templates > Google Chrome > Extensions and edit the option Configure the list of force-installed apps and extensions.
- Select the Enabled radio button.
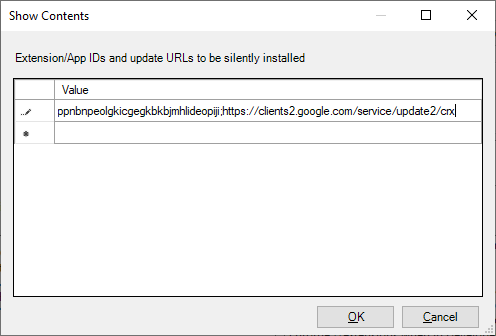
- Click Show.
- In the Show contents window, double click the empty value field and paste in the value
ppnbnpeolgkicgegkbkbjmhlideopiji;https://clients2.google.com/service/update2/crxand click OK.
- Click OK to close the policy item window.
- Select the User Configuration > Policies > Administrative Templates > Google Chrome > HTTP authentication policy node.
- Edit the Kerberos delegation server allowlist policy item.
- Select the Enabled radio button and enter
*.microsoftazuread-sso.comin the Kerberos delegation server allowlist text box.

- Click OK.
- Edit the Authentication server allowlist policy item.
- Select the Enabled radio button and enter *.microsoftazuread-sso.com in the Authentication server allowlist text box.
- Click OK and close the Group Policy editor.
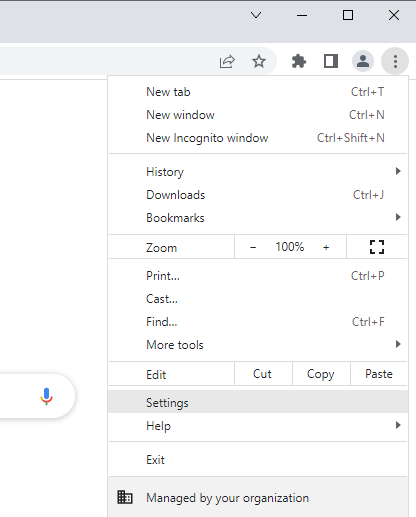
After Group Policy refreshes, you should be able to see the Windows Accounts extension in the list of extensions on a user/computer in-scope:

Wrapping up
You may need to wait a few minutes between when the policy has applied and when it has refreshed on the user’s computer.
After you’ve done all this work, you should be able to use Windows Accounts data to help the sign-on process to Microsoft 365 resources.
Happy signing in!