

The SharePoint Lookbook series of templates are a design pattern that allow you to apply pre-built templates to SharePoint sites using the SharePoint PnP provisioning service.
Background
Recently, one of my customers asked for assistance in deploying a PnP site template to their GCC High (GCCH) Microsoft 365 environment. If you’re not already familiar with the PnP provisioning infrastructure, you can check it out here: https://learn.microsoft.com/en-us/sharepoint/dev/solution-guidance/applying-pnp-templates
Cool, right?
GCCH, while it may look like a standard deployment, it is anything but. It takes a bit more effort to do anything in GCCH. 🙂
Here’s how you can deploy any of the PnP provisioning templates yourself into a GCCH environment!
Pre-requisites
Before you can get rolling, you’ll need to download and configure any prerequisites.
Download site templates
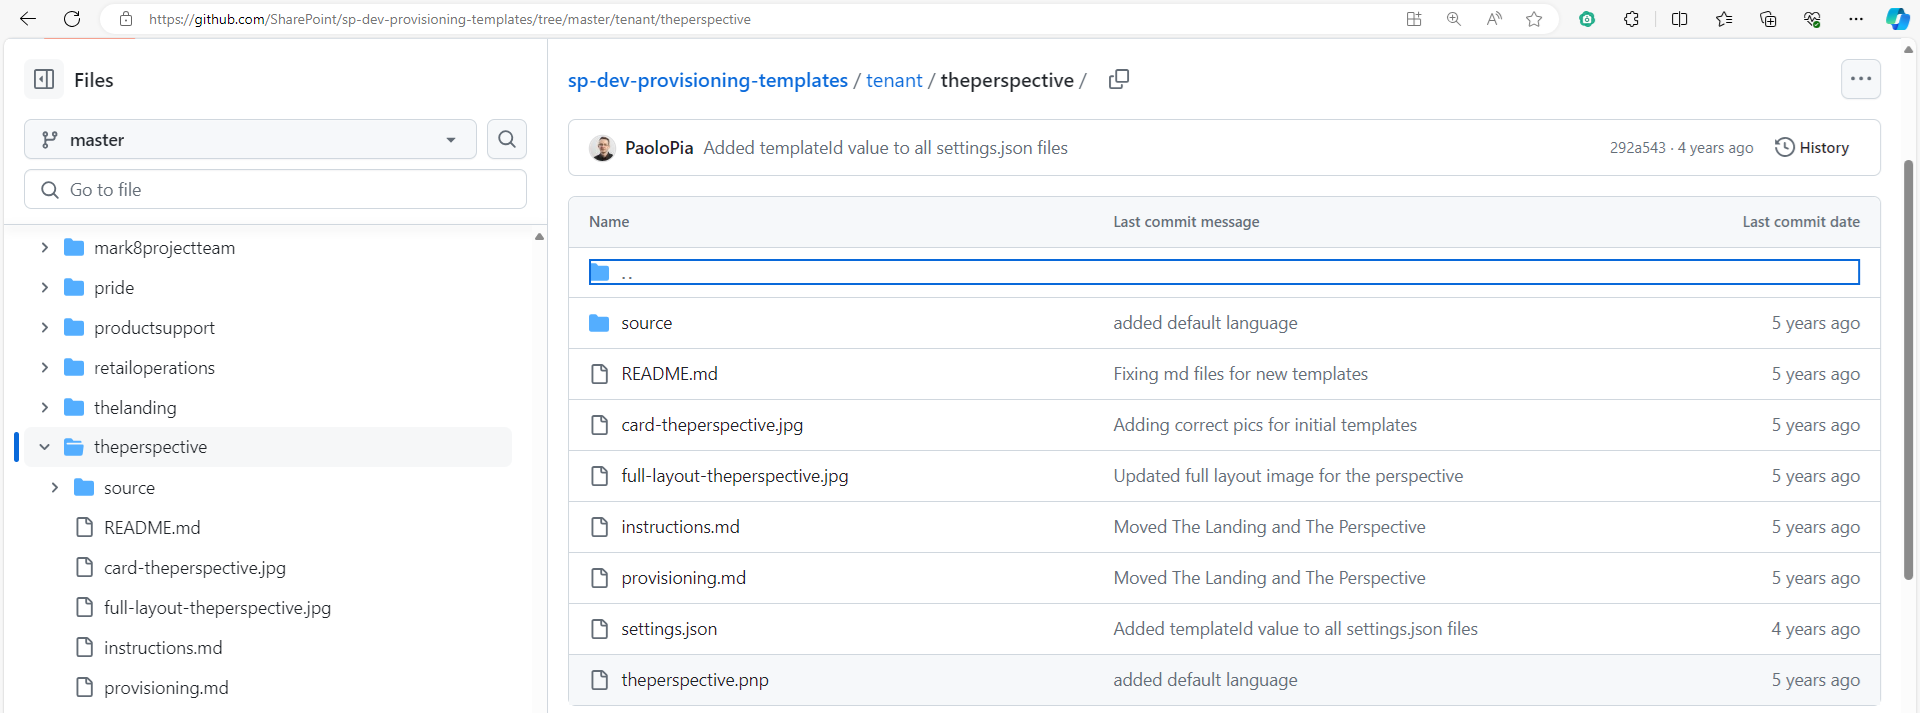
You’ll need the site templates for any look books that you want to deploy.
You’ll need the PnP template files that you want to apply. All of the templates are currently available here: https://github.com/SharePoint/sp-dev-provisioning-templates/tree/master/tenant. You’ll need to download the file with the extension .pnp. For example, if you want to apply the Perspectives template (which you use in this example), you’ll need to grab the file https://github.com/SharePoint/sp-dev-provisioning-templates/blob/master/tenant/theperspective/theperspective.pnp.
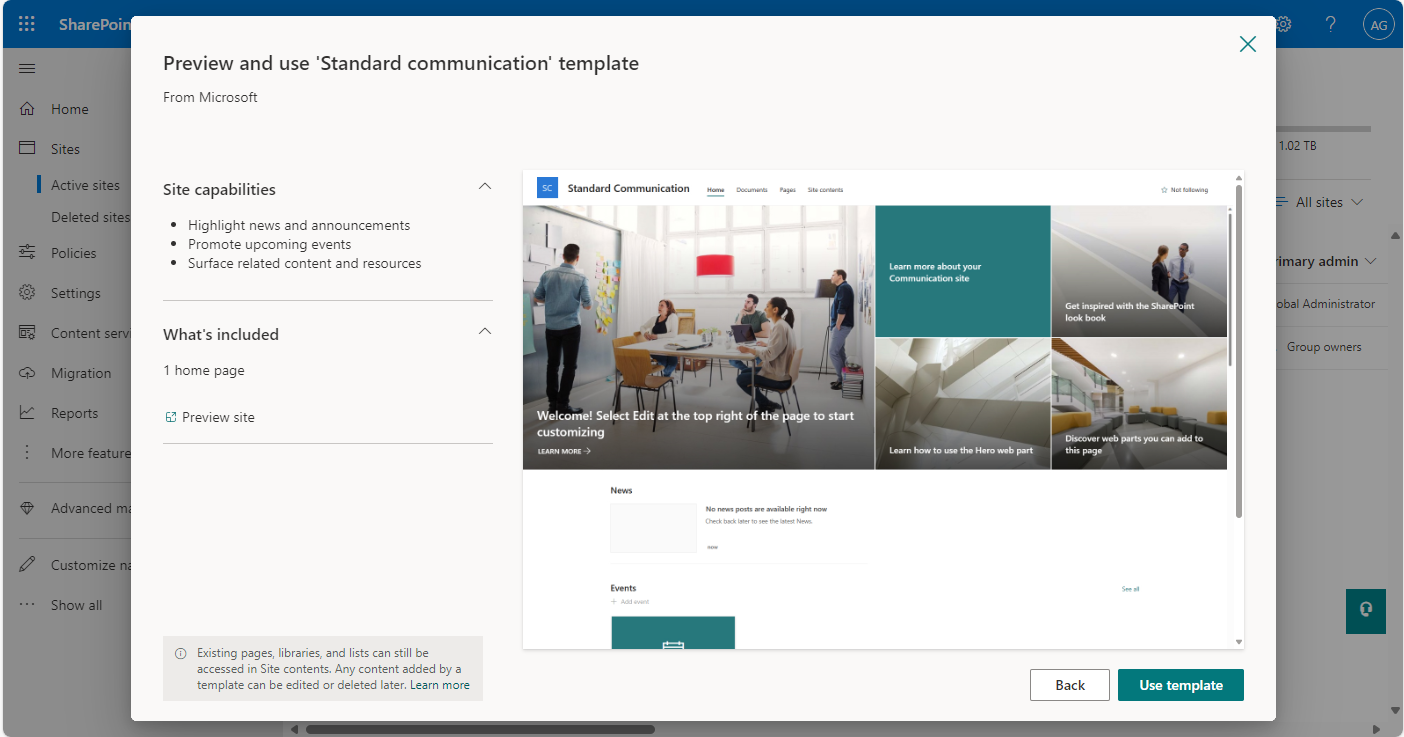
In order to apply the PnP site templates, you must already have an existing site to use. The look books are generally based on Communiations site templates. Create a new Communications site using the default Communications site template.
Once you’ve deployed it, make sure you view the communications site in the browser to confirm it has the default communications site template.
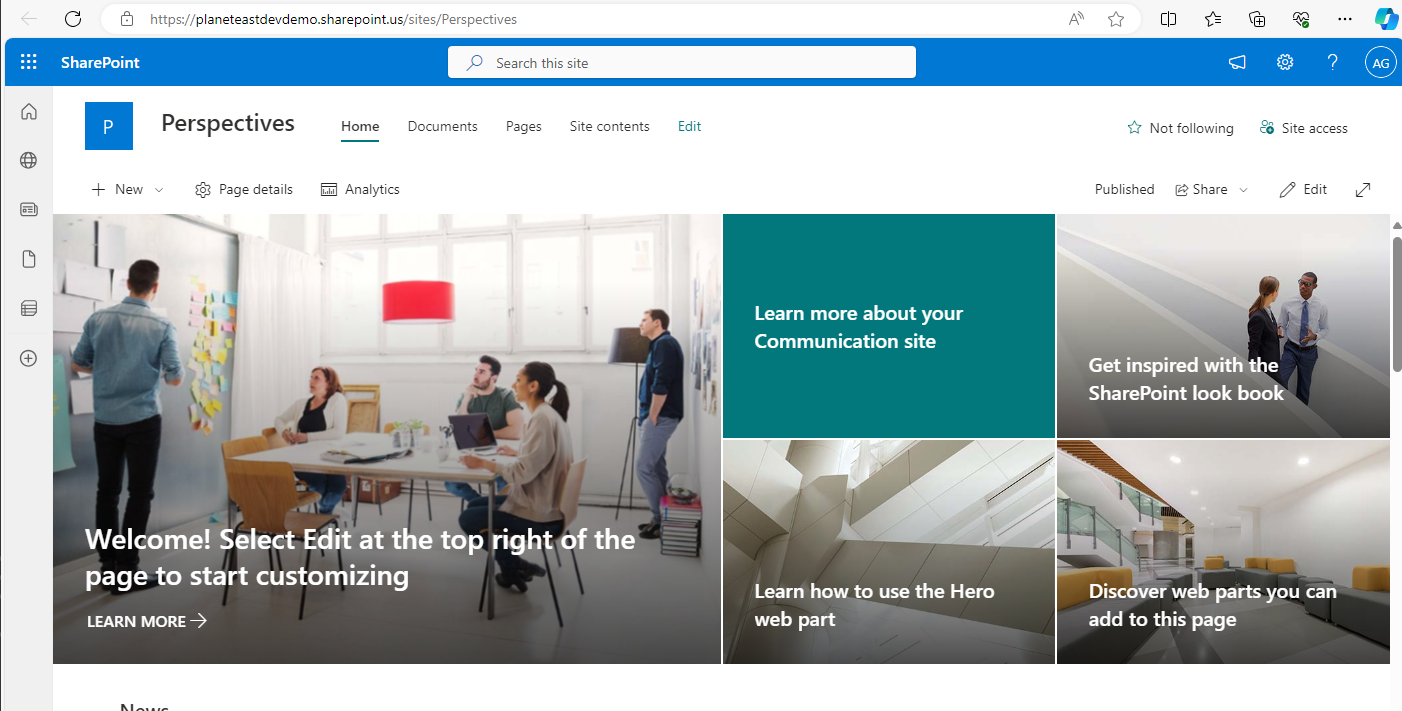
You’ll also want to grab the URL of the site, as you’ll need it later when you go to apply the template.
-
Install prerequisite software
You’ll also need to configure your machine with the prerequisite software:
- PowerShell 7, PowerShellGet, and Nuget, and the SharePoint PnP PowerShell module.
- Install Windows PowerShell version 7.x. It’s necessary for the new PnP.PowerShell modules to work correctly. You can download PowerShell 7 here: https://learn.microsoft.com/en-us/powershell/scripting/install/installing-powershell-on-windows?view=powershell-7.4#msi
- Update the version of
PowerShellGetandNuget. To do this, you’ll want to launch PowerShell as elevated.$PowerShellGetVersion = Get-PackageProvider -Name PowerShellGet -ListAvailable If ([version]$PowerShellGetVersion.Version -lt [version]"2.2.5.0"){Install-PackageProvider -Name Nuget -Scope AllUsers -Force;Install-PackageProvider -Name PowerShellGet -MinimumVersion 2.2.5.0 -Scope AllUsers -Force}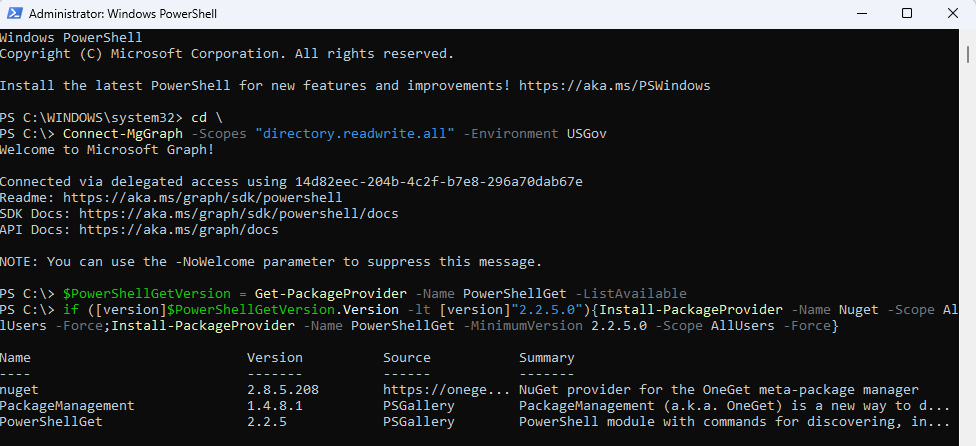
- Close and re-launch PowerShell as elevated. If you don’t,
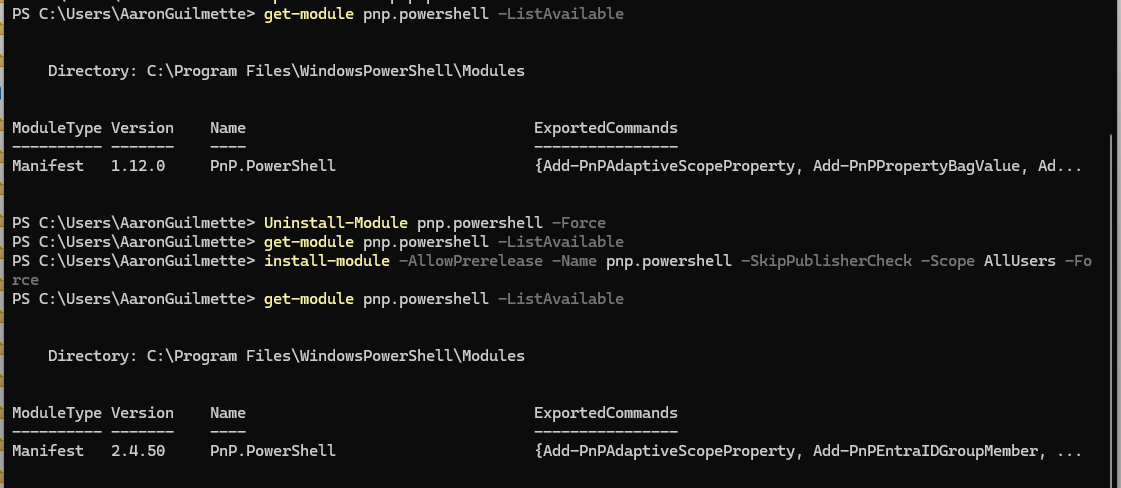
Install-Modulewill fail with an error that the parameterAllowPrereleaseVersionsis unavailable. - Install the latest Pnp PowerShell. If you have an earlier version PnP PowerShell already installed, you’ll need to remove it using
Uninstall-Module—otherwise, you’ll end up with both a 1.x and a 2.x prerelease version. You can try usingUpdate-Moduleinstead, but I’ve personally run into issues where I end up with both versions anyway. Sadly, it’s just easier to remove and reinstall.Install-Module -Name Pnp.PowerShell -AllowPrerelease -SkipPublisherCheck -Scope AllUsers -Force
- Close and relaunch PowerShell again.
- Next, we’ll set up the PnP app that you’ll use for this and all future deployments.
-
Registering an App for PnP
The PnP App is what allows you to interact with SharePoint Online using the PnP cmdlets. You only have to do this next series of steps once.
-
-
- Change to a directory where the current user account has write permissions (otherwise the command will fail).
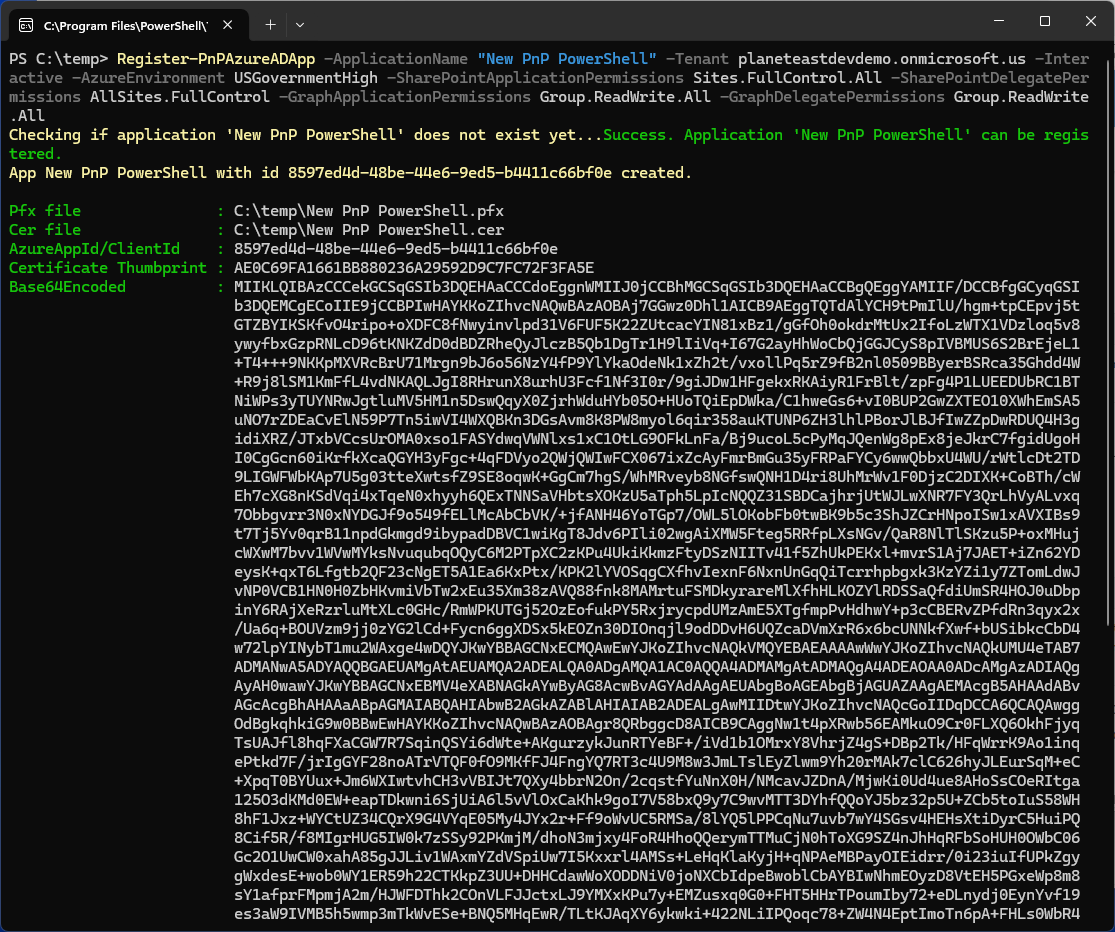
- Register an Azure AD app for the PnP PowerShell. You have to do this manually as the native registration that you use in commercial doesn’t work. As a sidebar, depending on you use your environment or how locked down it is, you can choose to omit the
-GraphApplicationPermissions and-SharePointApplicationPermissionsparameters (highlighted in bold) and rely solely on delegated permissions. With Application permissions, *any* user can utilize the PnP App registration ID to apply a site template (as well as utilize other PnP functions). With Delegate permissions, users are limited to their own rights.Register-PnPAzureADApp -ApplicationName "PnP PowerShell" -Tenant tenant.onmicrosoft.us -Interactive -AzureEnvironment USGovernmentHigh -SharePointApplicationPermissions Sites.FullControl.All -SharePointDelegatePermissions AllSites.FullControl -GraphApplicationPermissions Group.ReadWrite.All -GraphDelegatePermissions Group.ReadWrite.All
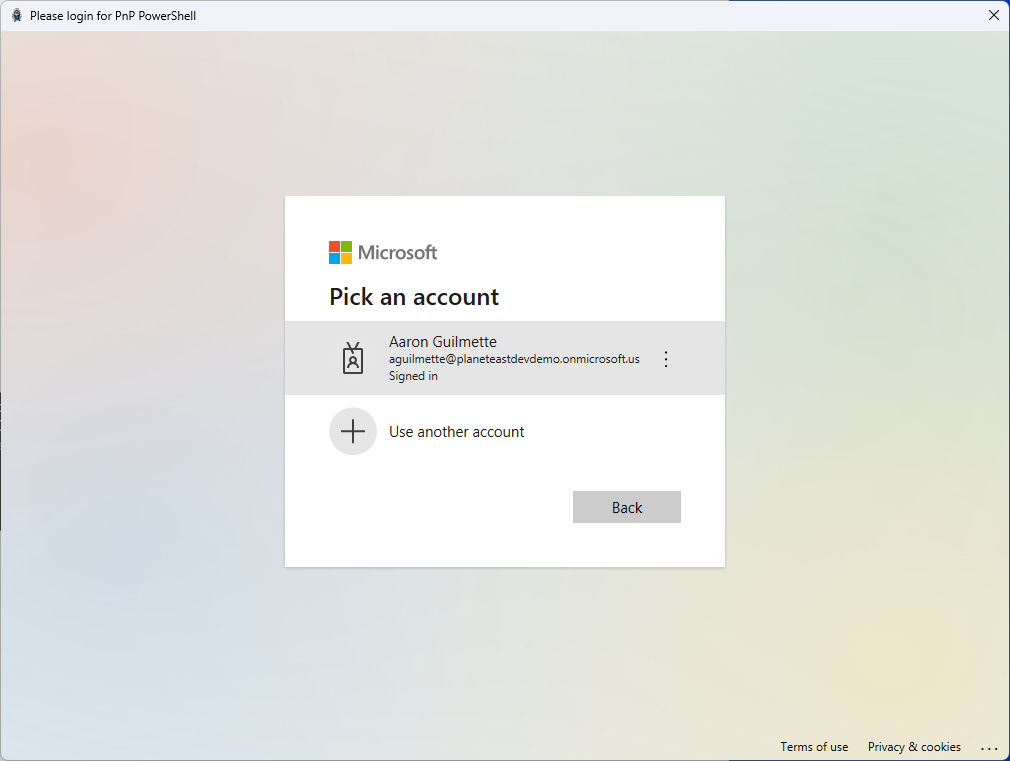
- Select the credential.

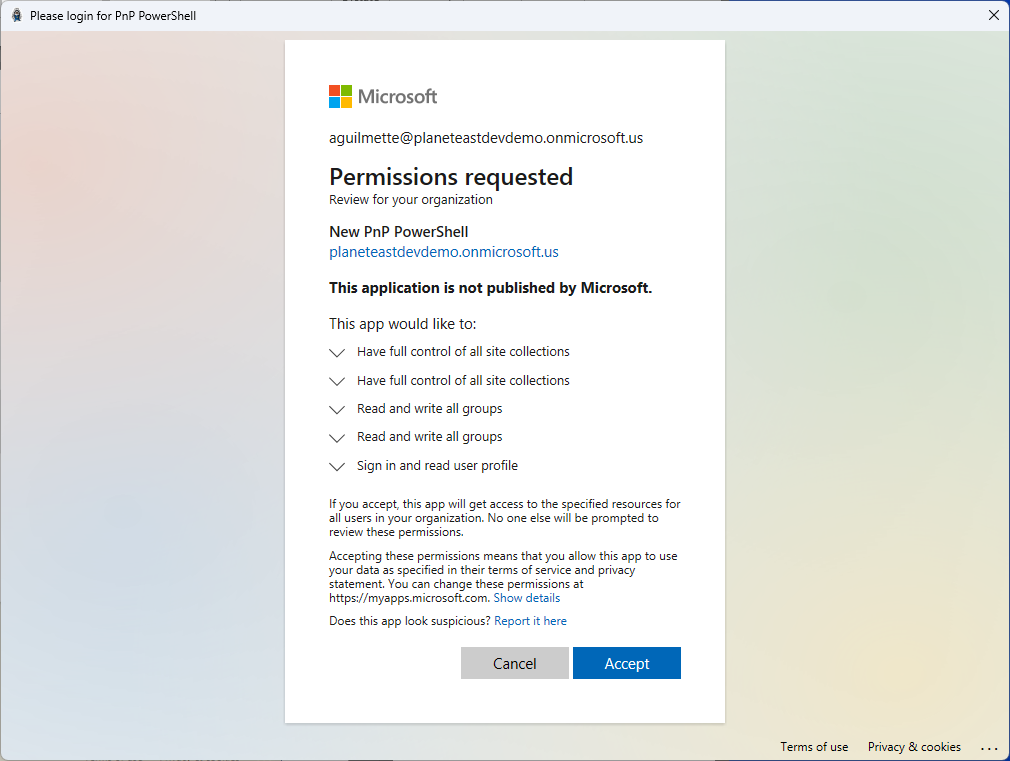
- You’ll need to consent to the workflow if prompted.
- Accept the permissions grant.
- Wait for output.

- Copy the app’s GUID displayed on the screen. In this case, it’s
8597ed4d-48be-44e6-9ed5-b4411c66bf0e. It may be helpful to store it in a variable for when you apply the template. You can do that using:$ClientId = "AppId guid”
(Don’t worry, I’ve already deleted the application, so you can’t exploit it. Sometimes, it’s just nice to see how it looks in real life).

Deploy the Look Book template
-
At this point, you’re ready to begin deploying the templates! Be sure you have the PnP template file downloaded and know the path to the SharePoint site where you want to deploy the template.
-
- You’ll need to have Site Collection Administrator permissions for any site you wish to apply a template to. If you created the site, you’ll have this permission already. However, if you are applying these templates to sites that you don’t currently own, you’ll need to grant permissions either through the SharePoint Admin Center (https://tenant-admin.sharepoint.us) or via the SharePoint Management Shell:
Set-SPOUser -Site https://tenant.sharepoint.us/sites/<sitename> -LoginName user@tenant.us -IsSiteCollectionAdmin $True
- Connect to the PNP endpoint.
Connect-PnPOnline -Url "https://tenant.sharepoint.us/sites/site" -Interactive -AzureEnvironment USGovernmentHigh -ClientId $ClientId -Tenant "tenant.onmicrosoft.us"

- Apply the site template using the Invoke-PnPSiteTemplate cmdlet.
Invoke-PnpSiteTemplate -path C:\Path\To\theperspective.pnp

- Review the site to ensure the template has been applied.
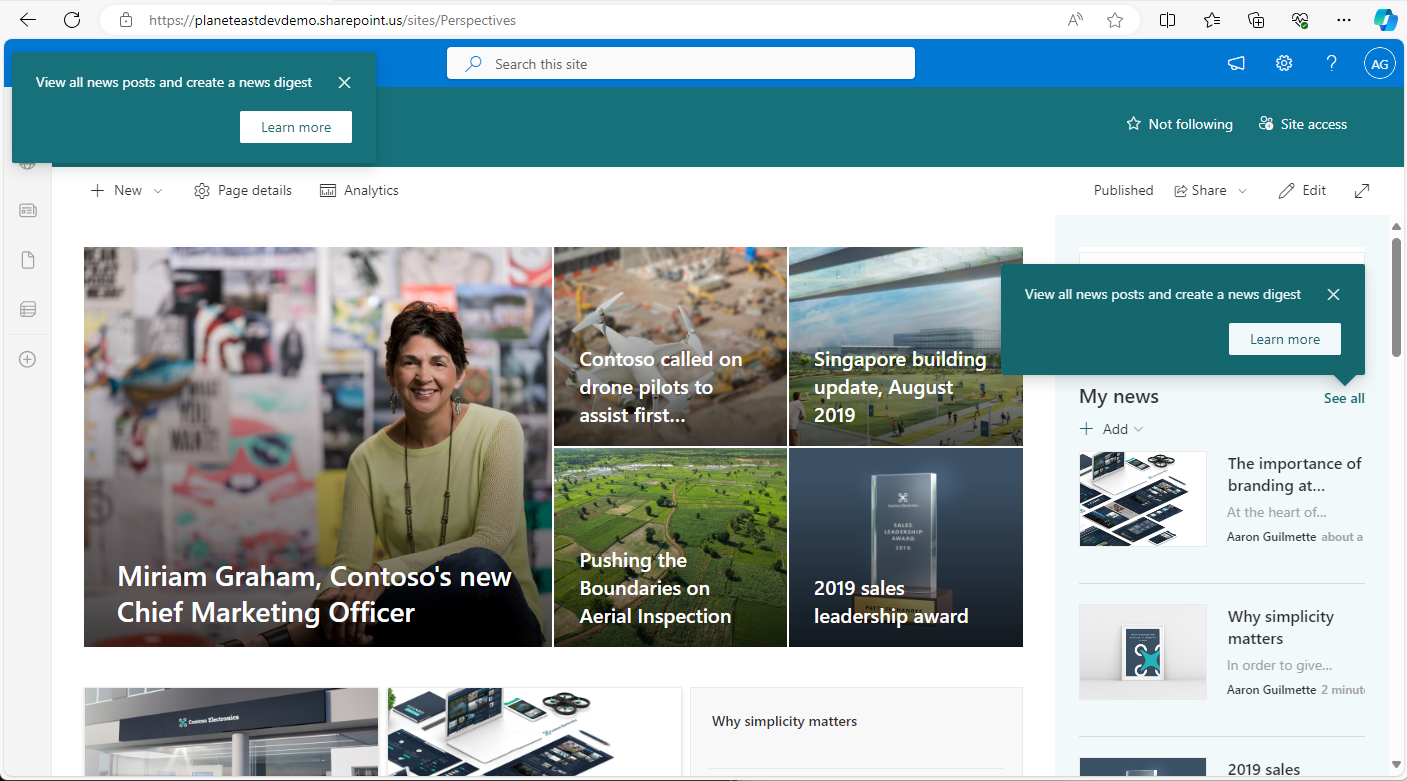
- You’ll need to have Site Collection Administrator permissions for any site you wish to apply a template to. If you created the site, you’ll have this permission already. However, if you are applying these templates to sites that you don’t currently own, you’ll need to grant permissions either through the SharePoint Admin Center (https://tenant-admin.sharepoint.us) or via the SharePoint Management Shell:
- That’s it! Easy peasy. 🙂