

Sometimes, our instructions are lacking. Today, I needed to recover my Surface Book 2 device. I thought, easy—I’ll just use the Reset PC option inside the Control Panel.
After the initial reset (using the delete my files option), Windows Explorer wouldn’t launch. I was able to launch Task Manager and re-run the Reset procedure. On the second time through, however, it still “remembered” my user, though it had supposedly wiped out the profile data and references to it. Windows Hello got stuck in a logon -> no user profile data found -> logout > Windows Hello loop.
One of the more challenging parts about Surface/UEFI model is trying to perform restores and recoveries from a non-bootable device. Most of us only start the recovery process when we need it—not because we’re looking for something fun to do on a Thursday afternoon.
Here’s the step-by-step on how to do recover your Surface device using a downloadable surface image and the recovery media from our download site.
Prep work
You’ll need to get a few things in order to be successful:
- USB thumb/pen drive (16GB) that you don’t mind wiping
- Disable bitlocker (not required, but if possible, makes the recovery process faster). If you need to disable bitlocker, launch an elevated CMD prompt and run
manage-bde -off <systemdrive:> - A Windows 10 or 11 PC that you can run the Recovery Drive app from
Preparing the media
- On a working PC, download the recovery image for your model (Surface Recovery Image Download (microsoft.com)). You’ll need your device serial number in order to download the image.
- Insert your USB drive into your working PC.
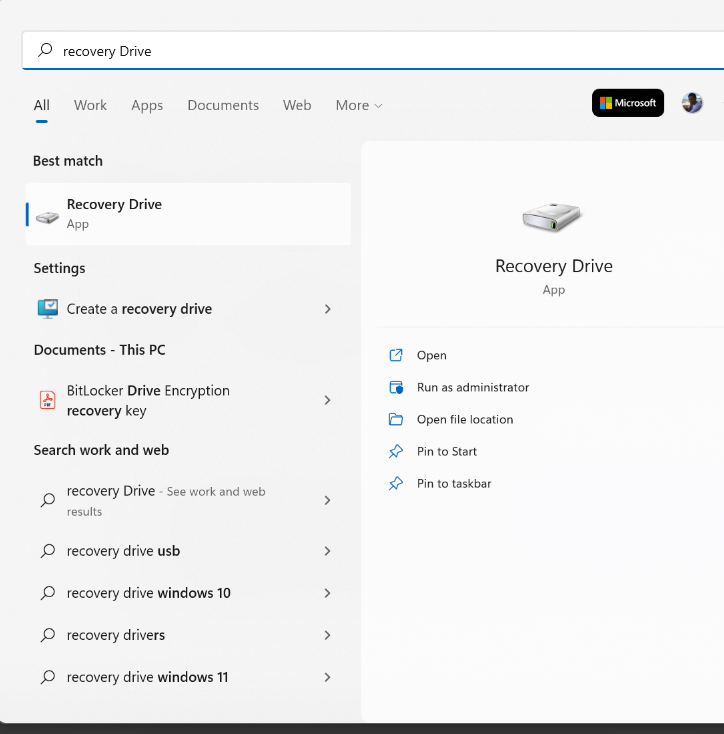
- Start and type
Recovery. My Surface Book 2 shipped with Windows 10, but I’m doing the recovery from a Windows 11 device. Select the Recovery Drive app.
- Acknowledge User Account Control notification.
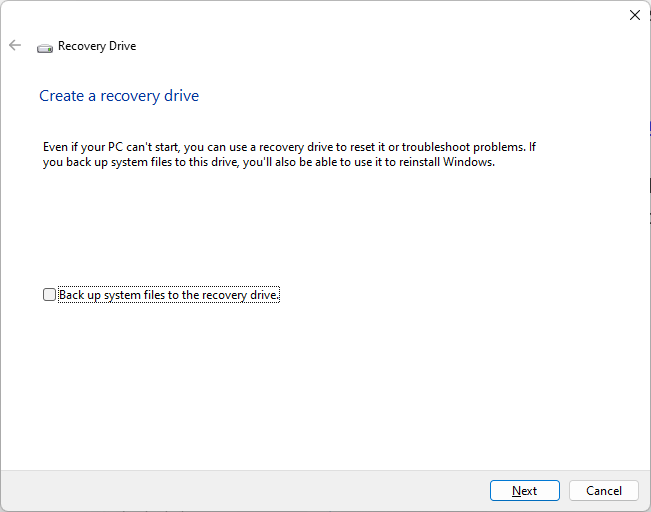
- Clear the Backup up system files to the recovery drive checkbox and click Next.
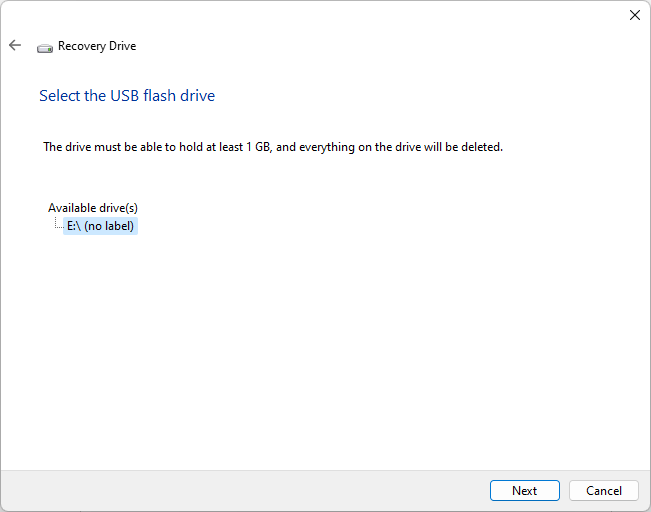
- Select the USB flash drive and click Next.
- Click Create. Your disk will be wiped out.
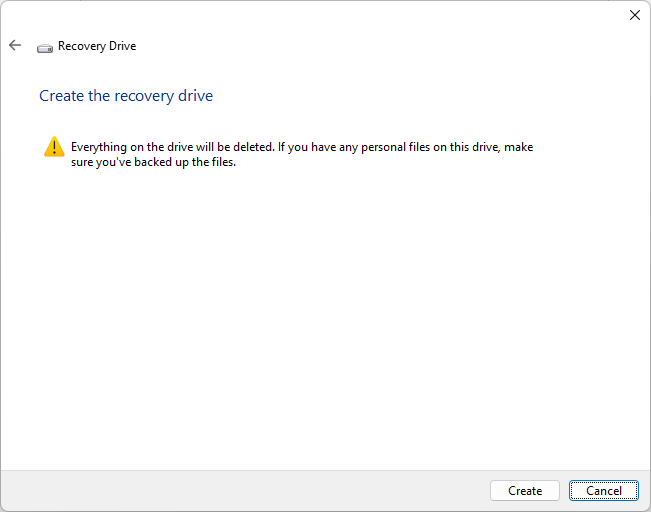
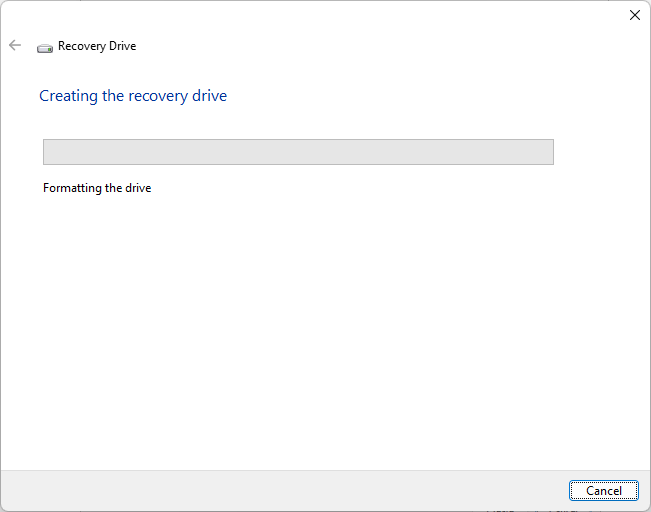
- Wait while the drive is formatted.
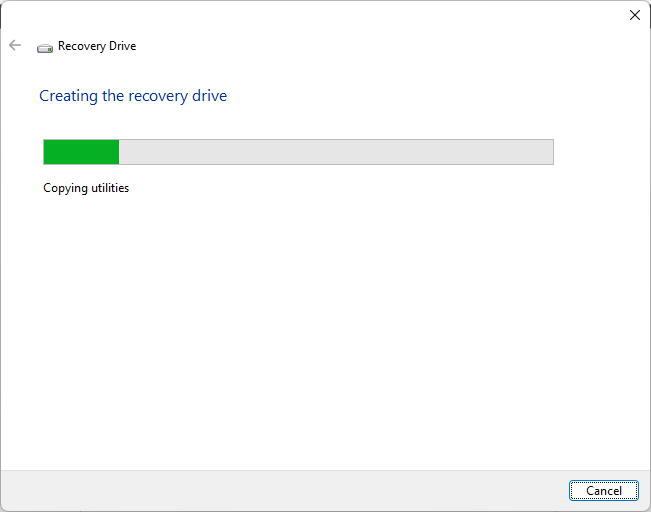
- After formatting, the Recovery Drive app will configure it with boot software and utilities.
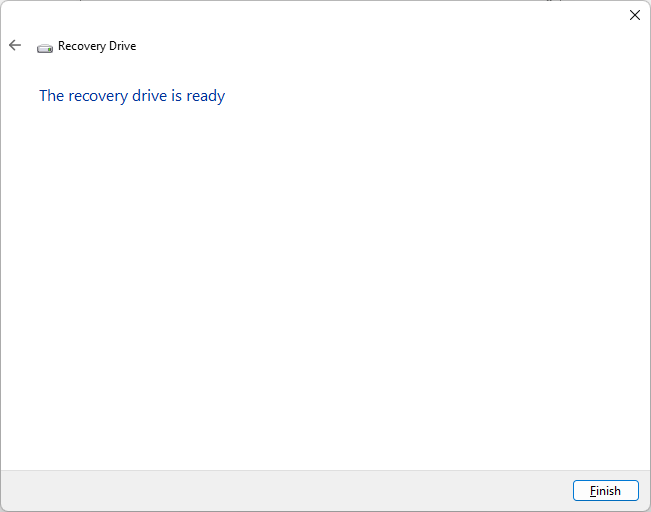
- Click Finish.
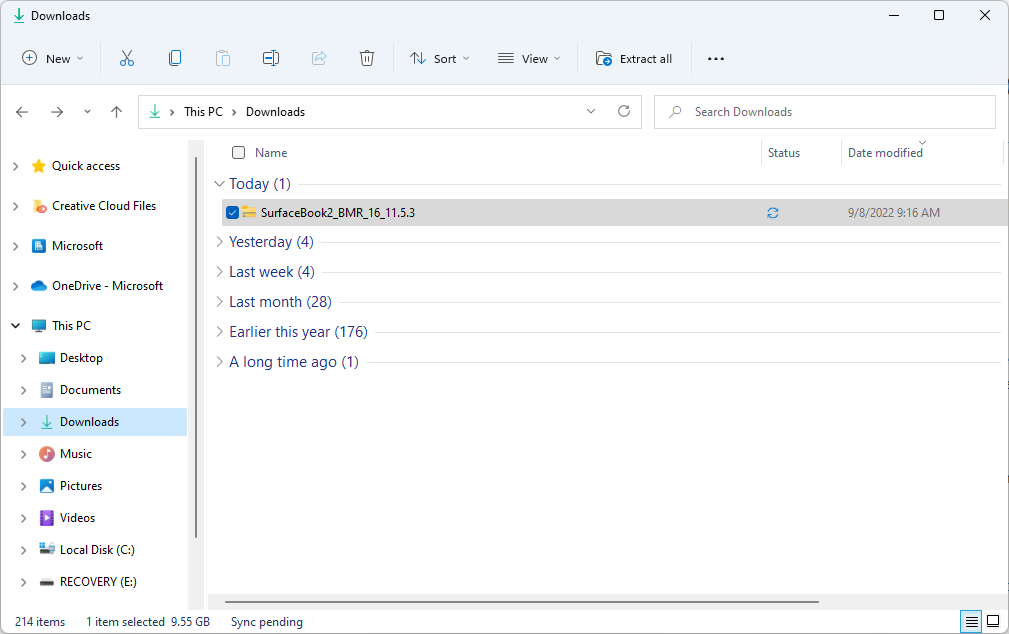
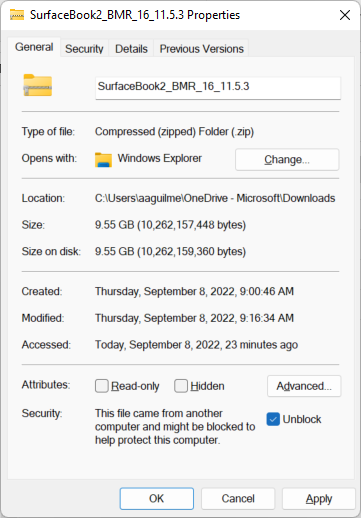
- Open up Windows Explorer and locate the downloaded Surface Recovery Image ZIP file.
- Right-click on the downloaded file and select Properties.
- Select Unblock and click Apply. Close the Properties sheet with either the X or OK.
- Double-click to open the ZIP file. Select all of the files.
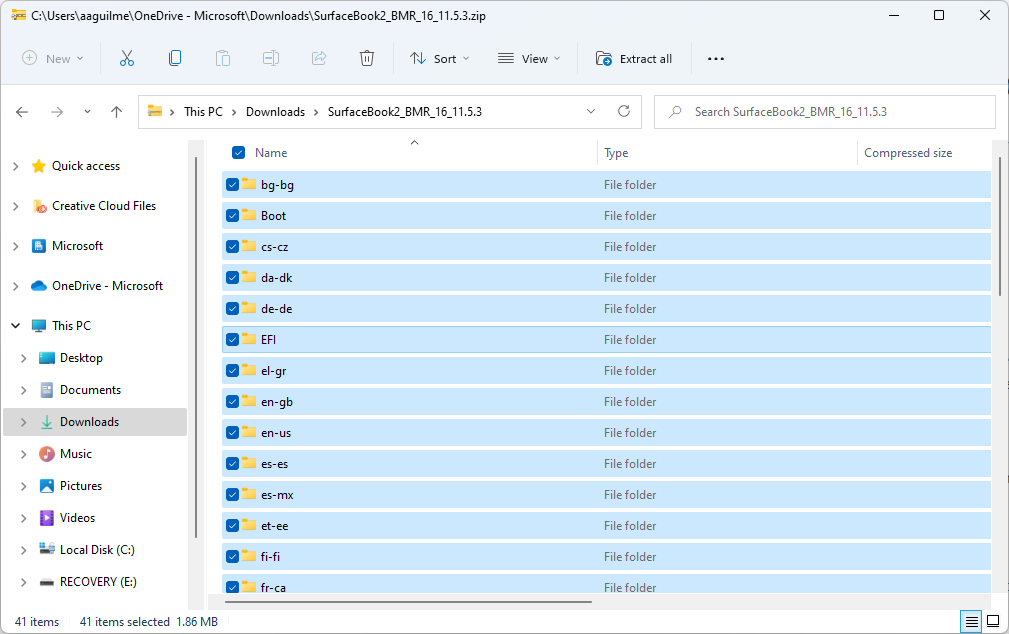
- Right-click | Copy (or
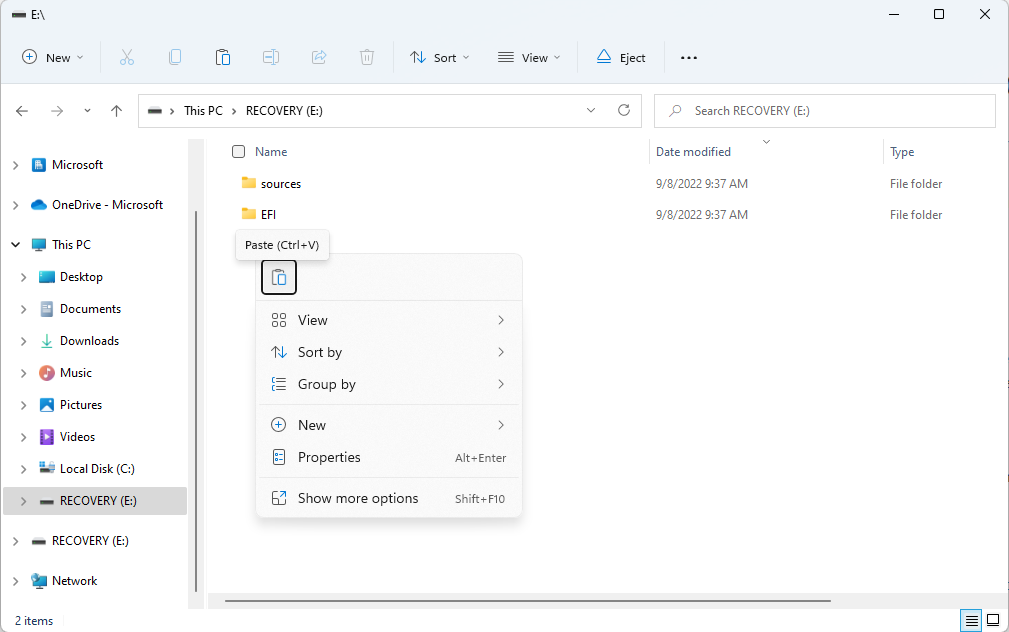
Ctrl+C). - Expand the USB volume labeled RECOVERY.
- In the root of the Recovery USB, paste the contents.
- Sit back and wait. This part will take a while (but hopefully not 3 ½ hours). You can blame Dave Plummer. Literally. He said to.
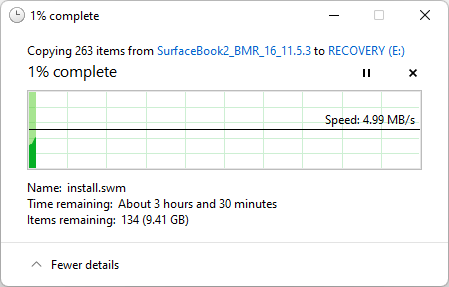
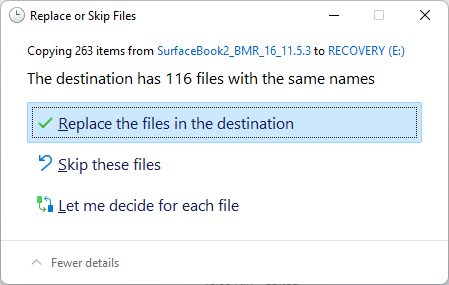
- When prompted, select Replace the files in the Destination.
After the media copy has finished, now it’s time to get to resetting!
Recovering the device
Make sure your device is fully turned off and plugged in before proceeding.
- Insert the newly-minted recovery drive into a USB port.
- Press and hold the physical Volume Down (minus-button) on the device (not the Fn+F4 volume softkey combination).
- Press and release the Power button (while continuing to hold the Volume Down button). While our instructions say “until the logo appears,” my success has varied. I continue holding until the Choose the language screen appears (about 20-25 seconds).
- Choose your language and keyboard option.
- Depending on your firmware version, you may see the following options: Recover from a drive and Troubleshoot.
- If you have the Recover from a drive option presented (along with the Troubleshoot option), choose Recover from a drive.
- If you have the Troubleshoot option available (without Recover from a drive on the main screen), select Troubleshoot. The next page should have a Recover from a drive option available.
- Selecting Use a device will cause the startup process to initiate again from the Recovery media, leading you back here (the good news is you get to try again).
- On the Recover from a drive screen, select either Just remove my files or Fully clean the drive. Just remove my files is faster; Fully clean the drive can take several hours, depending on the size of your hard drive. However, if the Just remove my files doesn’t work correctly, you’ll have to do the Fully clean option instead.
- On the final page, read the information and then click Recover.
- The page will refresh and display Recovering this PC.
- After a restart, you’ll be prompted by the Windows installation experience to choose a language, region, keyboard layout, and second keyboard option through a series of prompts.
- Connect to a wireless network (if possible) or select I don’t have internet.
Voila!